
Step 1: Login to the Webuzo panel.
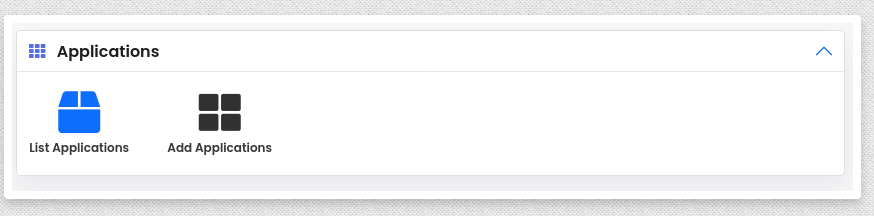
Step 2: Search for the “Add Application” option. Please refer to the screenshot here.
Step 3: Configure your application settings:
- Set a name for your application.
- Select the domain on which you want to install the app.
- Enter the application base URL.
- Set the application path.
- Choose the application type (Node.js or Python).
- Specify the startup file.
- Enter the start and stop commands.
Step 4: Click on the “Create” button.
Step 5: To view your application, navigate to “List Applications.” Here, you will find a list of all your applications. You can start and stop your application from this section.
Additionally, I’ve provided documentation on using Webuzo for managing applications.
This guide can be found here https://webuzo.com/docs/enduser-applications/application-manager/. It offers detailed information that will assist you in setting up your application.
If you encounter any issues or need further assistance, please feel free to reach out. We’re here to help.
